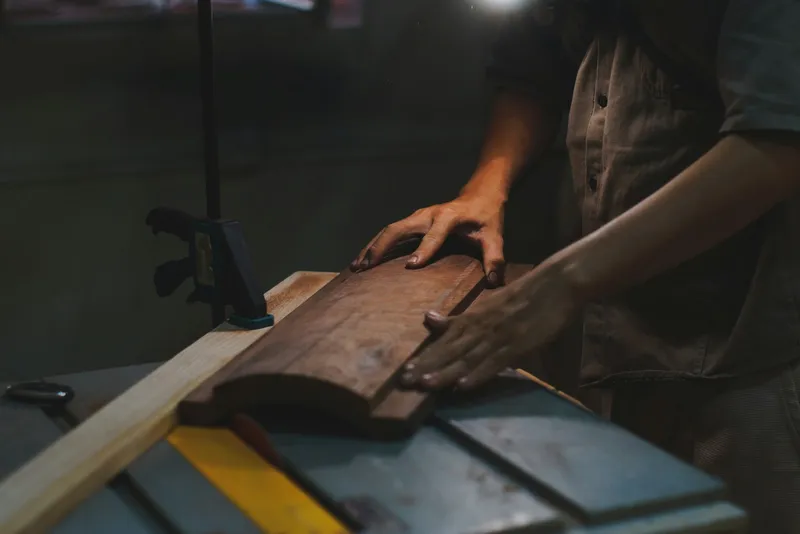
Design and build something with your hands
Keep the idea in your list, then add your own steps, notes, and updates as it takes shape.
Choose a useful problem
Pick a small object that solves one clear annoyance. A hook that keeps a cable off the floor, a stand that holds a book open, or a divider that keeps tools from rolling away can all become a satisfying first build. Begin by describing the problem in one sentence and naming who will use the object. Measure the space it must fit and note constraints such as weight, reach, cleaning, or available materials. The Henry Ford’s invention curriculum separates understanding the problem, designing, building, testing, and communicating. Use that sequence to keep the first project honest: define what success means before choosing materials. “The stand holds an open paperback at two reading angles” is easier to test than “make something clever.” Draw two rough alternatives, and choose the simpler one that you can build safely with tools you know.
Sketch before choosing materials
Make a quick sketch from the side and top. Mark the dimensions that determine fit, then note which pieces need to bear weight and which only cover an edge. If you are working with a mentor or in a shared workshop, ask which materials and tools are appropriate for your experience. Use supervised tools and follow the shop’s rules; the goal is a useful prototype, not a risky shortcut. Consider a low-cost mockup from cardboard or scrap before cutting final material. This can reveal that a base is too narrow, a slot is too small, or the object blocks a nearby outlet. Keep your first version reversible where possible so you can move a tab or change the angle without rebuilding the whole thing.
Test fit and function
Test the object against the sentence you wrote. Try the intended use several times, then check what wobbles, slips, catches, or feels awkward. Do not judge it by how polished it looks on a table. Record one success and one failure, then change one feature at a time. The Henry Ford curriculum describes testing as finding what works and does not, modifying the design, and testing changes again. This loop gives you permission to learn from an imperfect first build. If the item supports something heavy or could affect safety, use a qualified mentor and appropriate testing; don’t rely on a casual trial for load-bearing use. For a simple organizer, test with the objects it is meant to hold and ask another person to use it without your explanation.
Document what changed
Finish by making the result easy to understand and maintain. Smooth or cover rough edges where appropriate, label the object if another person will use it, and write down the material and any limitation. A prototype that works for one task may not be durable enough for daily use; distinguish “works in my test” from “ready for everyday use.” Take a photo of the sketch and first version so you can compare the changes. For a first attempt, choose one household annoyance and use the simplest available material to build an adjustable prototype. Ask a friend to try it and describe what they expected to happen. Your next step is to write a one-sentence problem definition, sketch two solutions, and ask a knowledgeable person which tools are appropriate before starting.
Sources and further reading
- The 7 Steps of Invention
The Henry Ford · Supports defining a problem, designing and building a prototype, then testing and revising it.