Hike a mountain that scares you
Keep the idea in your list, then add your own steps, notes, and updates as it takes shape.
Name the part that scares you
‘A mountain that scares me’ can mean several things. Perhaps the climb is long, the path is steep, the ridge feels exposed, the summit is much higher than your usual walks, or the route is hard to navigate. Those challenges call for different preparation. A wide path with a steady ascent may test endurance; a narrow ridge may involve exposure and technical movement. Do not treat the second as a braver version of the first. It may require instruction or specialist equipment, and it may not suit this outing.
Write down the image you have in mind and what information would make it clearer. If the fear is about height, look for an officially described route that avoids exposed edges. If it is uncertainty about distance, find the published route length, elevation profile, expected conditions and a realistic turnaround point. Your challenge can be learning to assess a mountain well, not forcing yourself onto the most intimidating line.
Match the route to experience you can describe
The National Park Service asks hikers to consider skills, experience, weather, duration, difficulty, special gear and whether the chosen activity fits their ability. That is U.S. National Park Service guidance for its parks; elsewhere, use the responsible land manager’s own trail notices and local advice. Compare a familiar lower mountain route with the route you want to try. Which feature changes: distance, steepness, loose ground, altitude or remoteness? If several change at once, choose a smaller progression or go with qualified local support.
Read route descriptions from the official park or trail authority, not just a dramatic photo or a user’s fastest time. Trail classifications are local; the same label may not mean the same terrain in different countries. Check closures, permits, current alerts and expected weather with the authority for the specific area. If you cannot find clear information about the route’s technical sections, do not assume they are easy.
Plan a day with room to turn back
Mark a start point, an intended high point and a point where you will reassess. Agree on a turnaround time before setting out, especially if the route is long or daylight is limited. A mountain can look close while taking longer than expected; the return descent is part of the day too. Choose a shorter alternative nearby so a change in weather or energy does not make the whole outing feel like a failure.
Tell someone your route and when you expect to return. Carry what the responsible authority recommends for that environment, including appropriate water, layers, navigation and emergency equipment. A phone battery or a clear morning is not a substitute for a plan. For technical terrain, avalanche country or conditions you do not know, get qualified instruction and current local guidance rather than experimenting alone.
Notice the mountain instead of only the summit
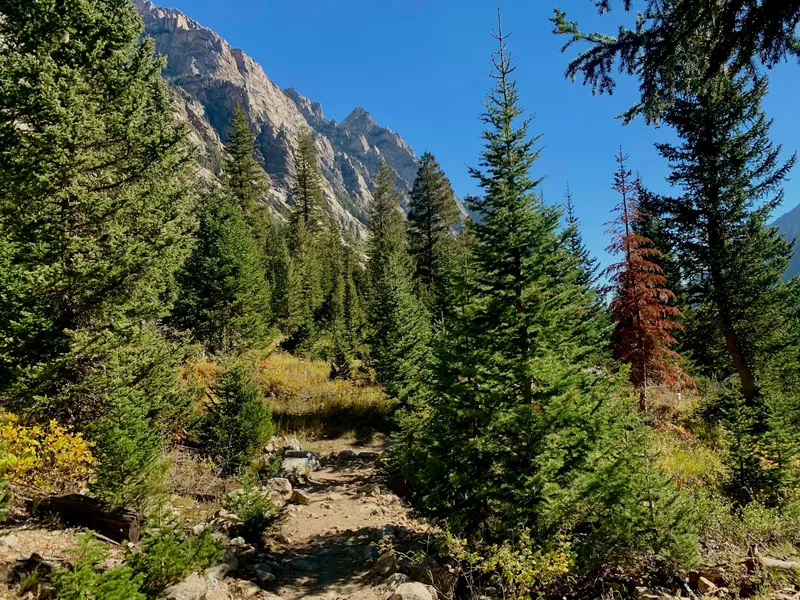
Give yourself a reason to stop before the top: notice where the vegetation changes, how the valley looks from a safe viewpoint, or where the trail surface changes from packed earth to rock. These details make a mountain day more than a photo at the highest point. They also encourage you to pay attention to footing, weather and your own pace instead of racing a clock.
Take breaks before you are exhausted and check whether your group is still comfortable. A quieter ridge or a lower viewpoint can be the right finish. If someone feels unwell, frightened or unsafe, turn back together; summit success is not worth overriding a clear warning.
Make the next step specific
After the hike, record what felt difficult and what turned out differently from your expectation. ‘Exposure was the hard part’ is more useful than ‘the mountain was scary.’ That note can guide your next choice: practice on broad high trails, build distance, take a navigation class or hike with a qualified guide. It may also show that you enjoyed the mountain without wanting more exposure.
Choose one mountain route whose official description you can understand and whose challenge matches the feature you want to work on. Check the land manager’s current alerts, conditions and requirements before you go.
Sources and further reading
- Trip Planning Guide
U.S. National Park Service · Supports checking park-specific weather, terrain, alerts, skill, fitness, duration, permits and backup plans; intended for day or overnight park trips and not a technical route guide or non-U.S. authority.